
Tools needed:
- Soft Bristle brush
- Sharp Hobby Knife
- Sanding sticks or 220-grit sandpaper
- Superglue
- Green Stuff or sculptable gap filler
- Plastic Putty
Step 1: Clean the Miniature
The first step in preparing a resin 3D-printed miniature for painting is to clean it thoroughly. Resin is a type of plastic that is prone to picking up dirt and dust, so it's important to remove any debris that may be present on the surface. Use a soft-bristled brush like a toothbrush to gently remove any dust or residue that may be stuck to the surface.
Step 2: Remove Any Remaining or Residual Supports

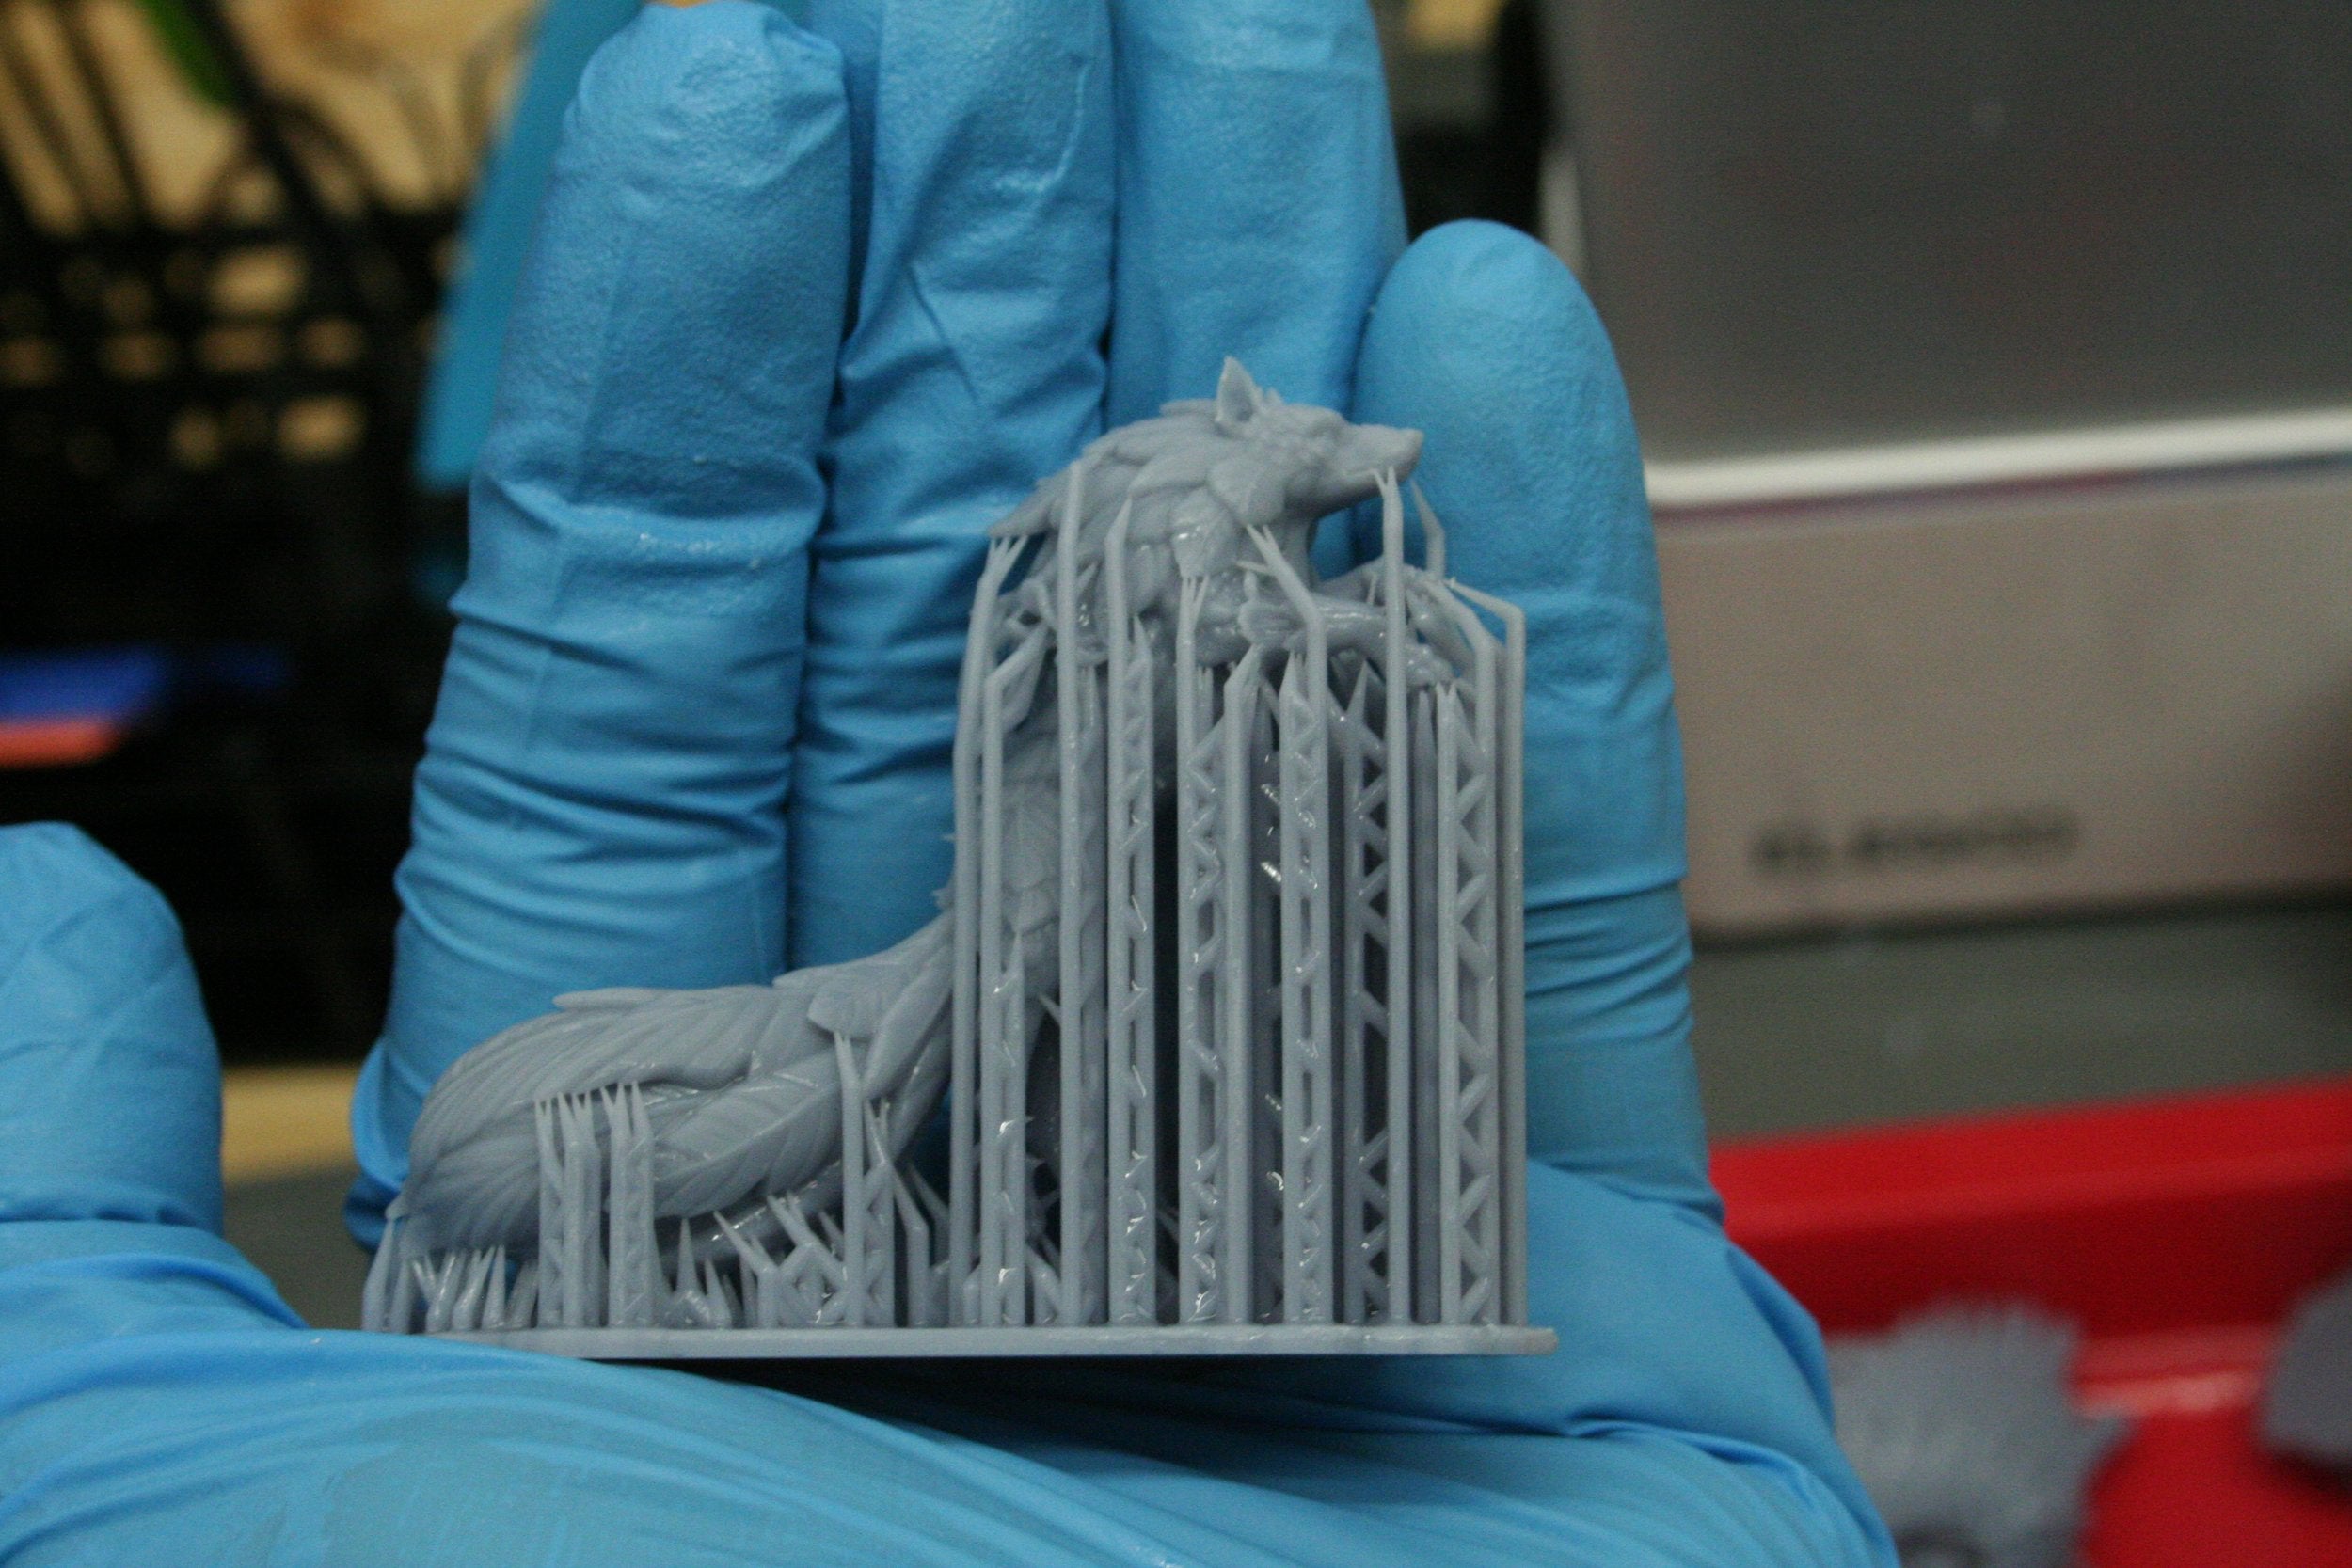
Fresh off the printer with supports still attached - the vast majority of these supports will be removed before the print is shipped to you.
Miniatures printed using a resin 3D printer may have support structures that need to be removed before you can start painting. These supports are necessary during the printing process to ensure that the miniature is stable and doesn't collapse, but they can be unsightly and interfere with the painting process. To remove the supports, use a pair of flush cutters or a hobby knife to carefully snip away the supports as close to the surface of the miniature as possible. Be careful not to damage the miniature itself in the process.
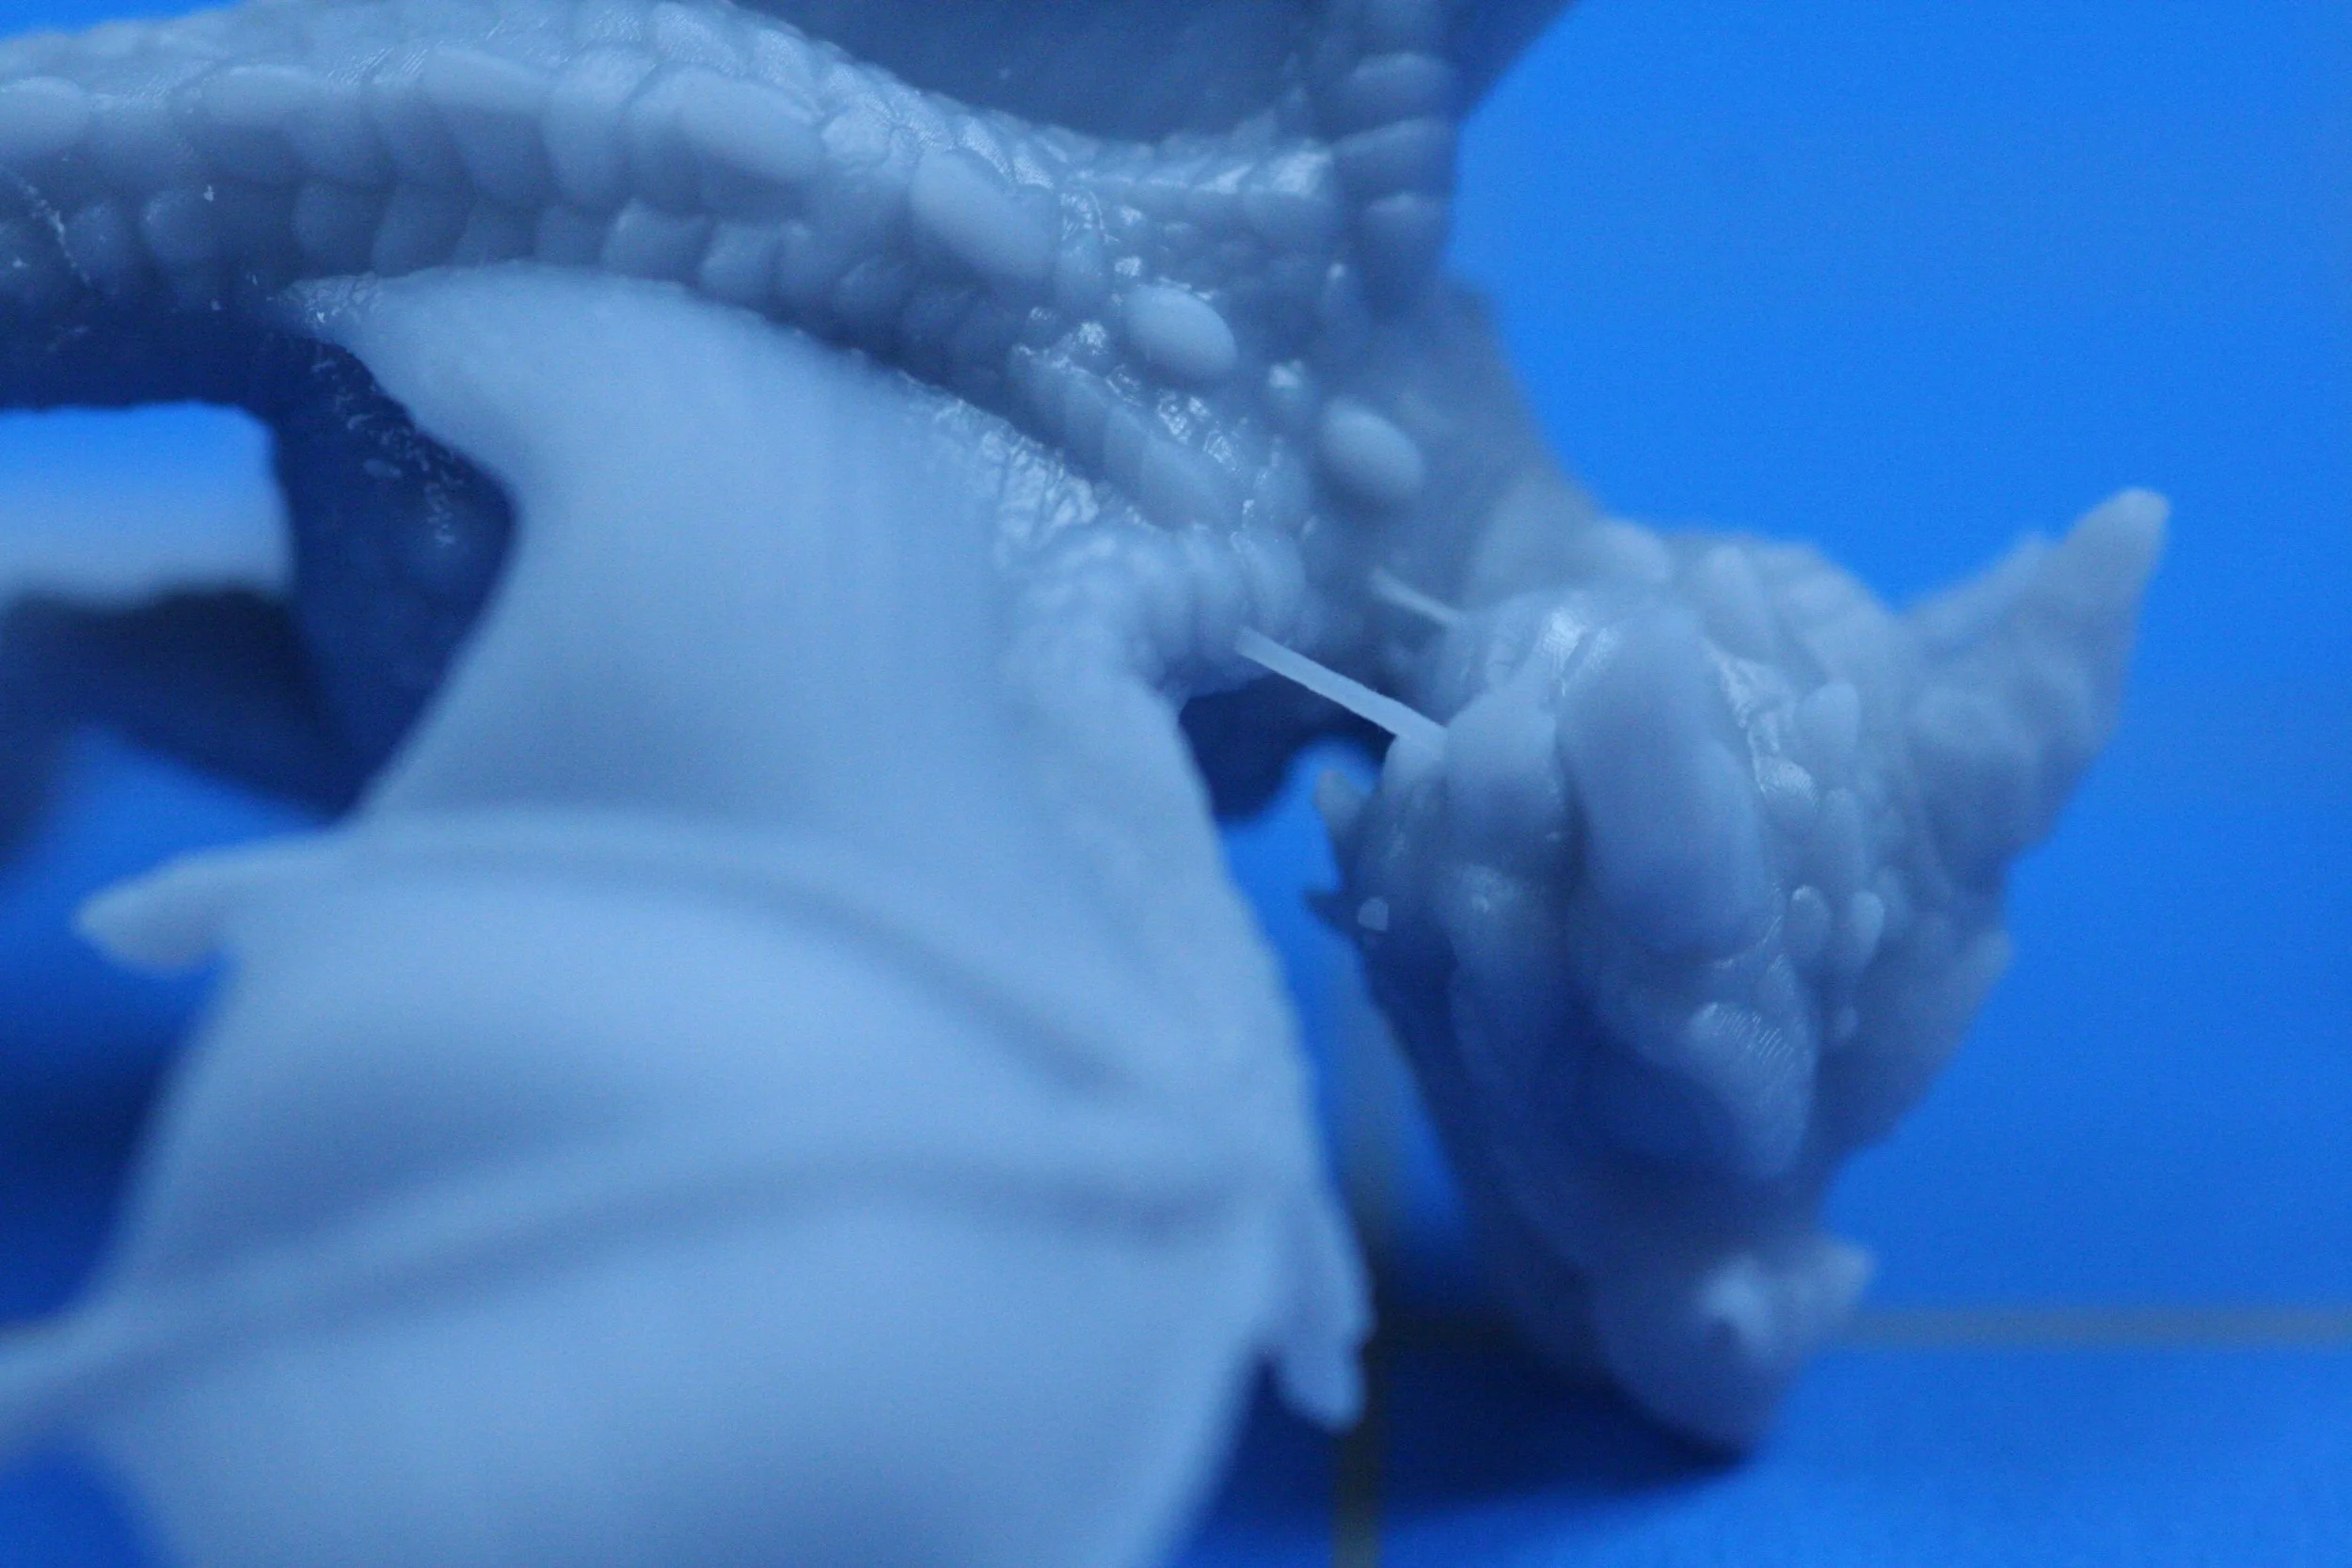
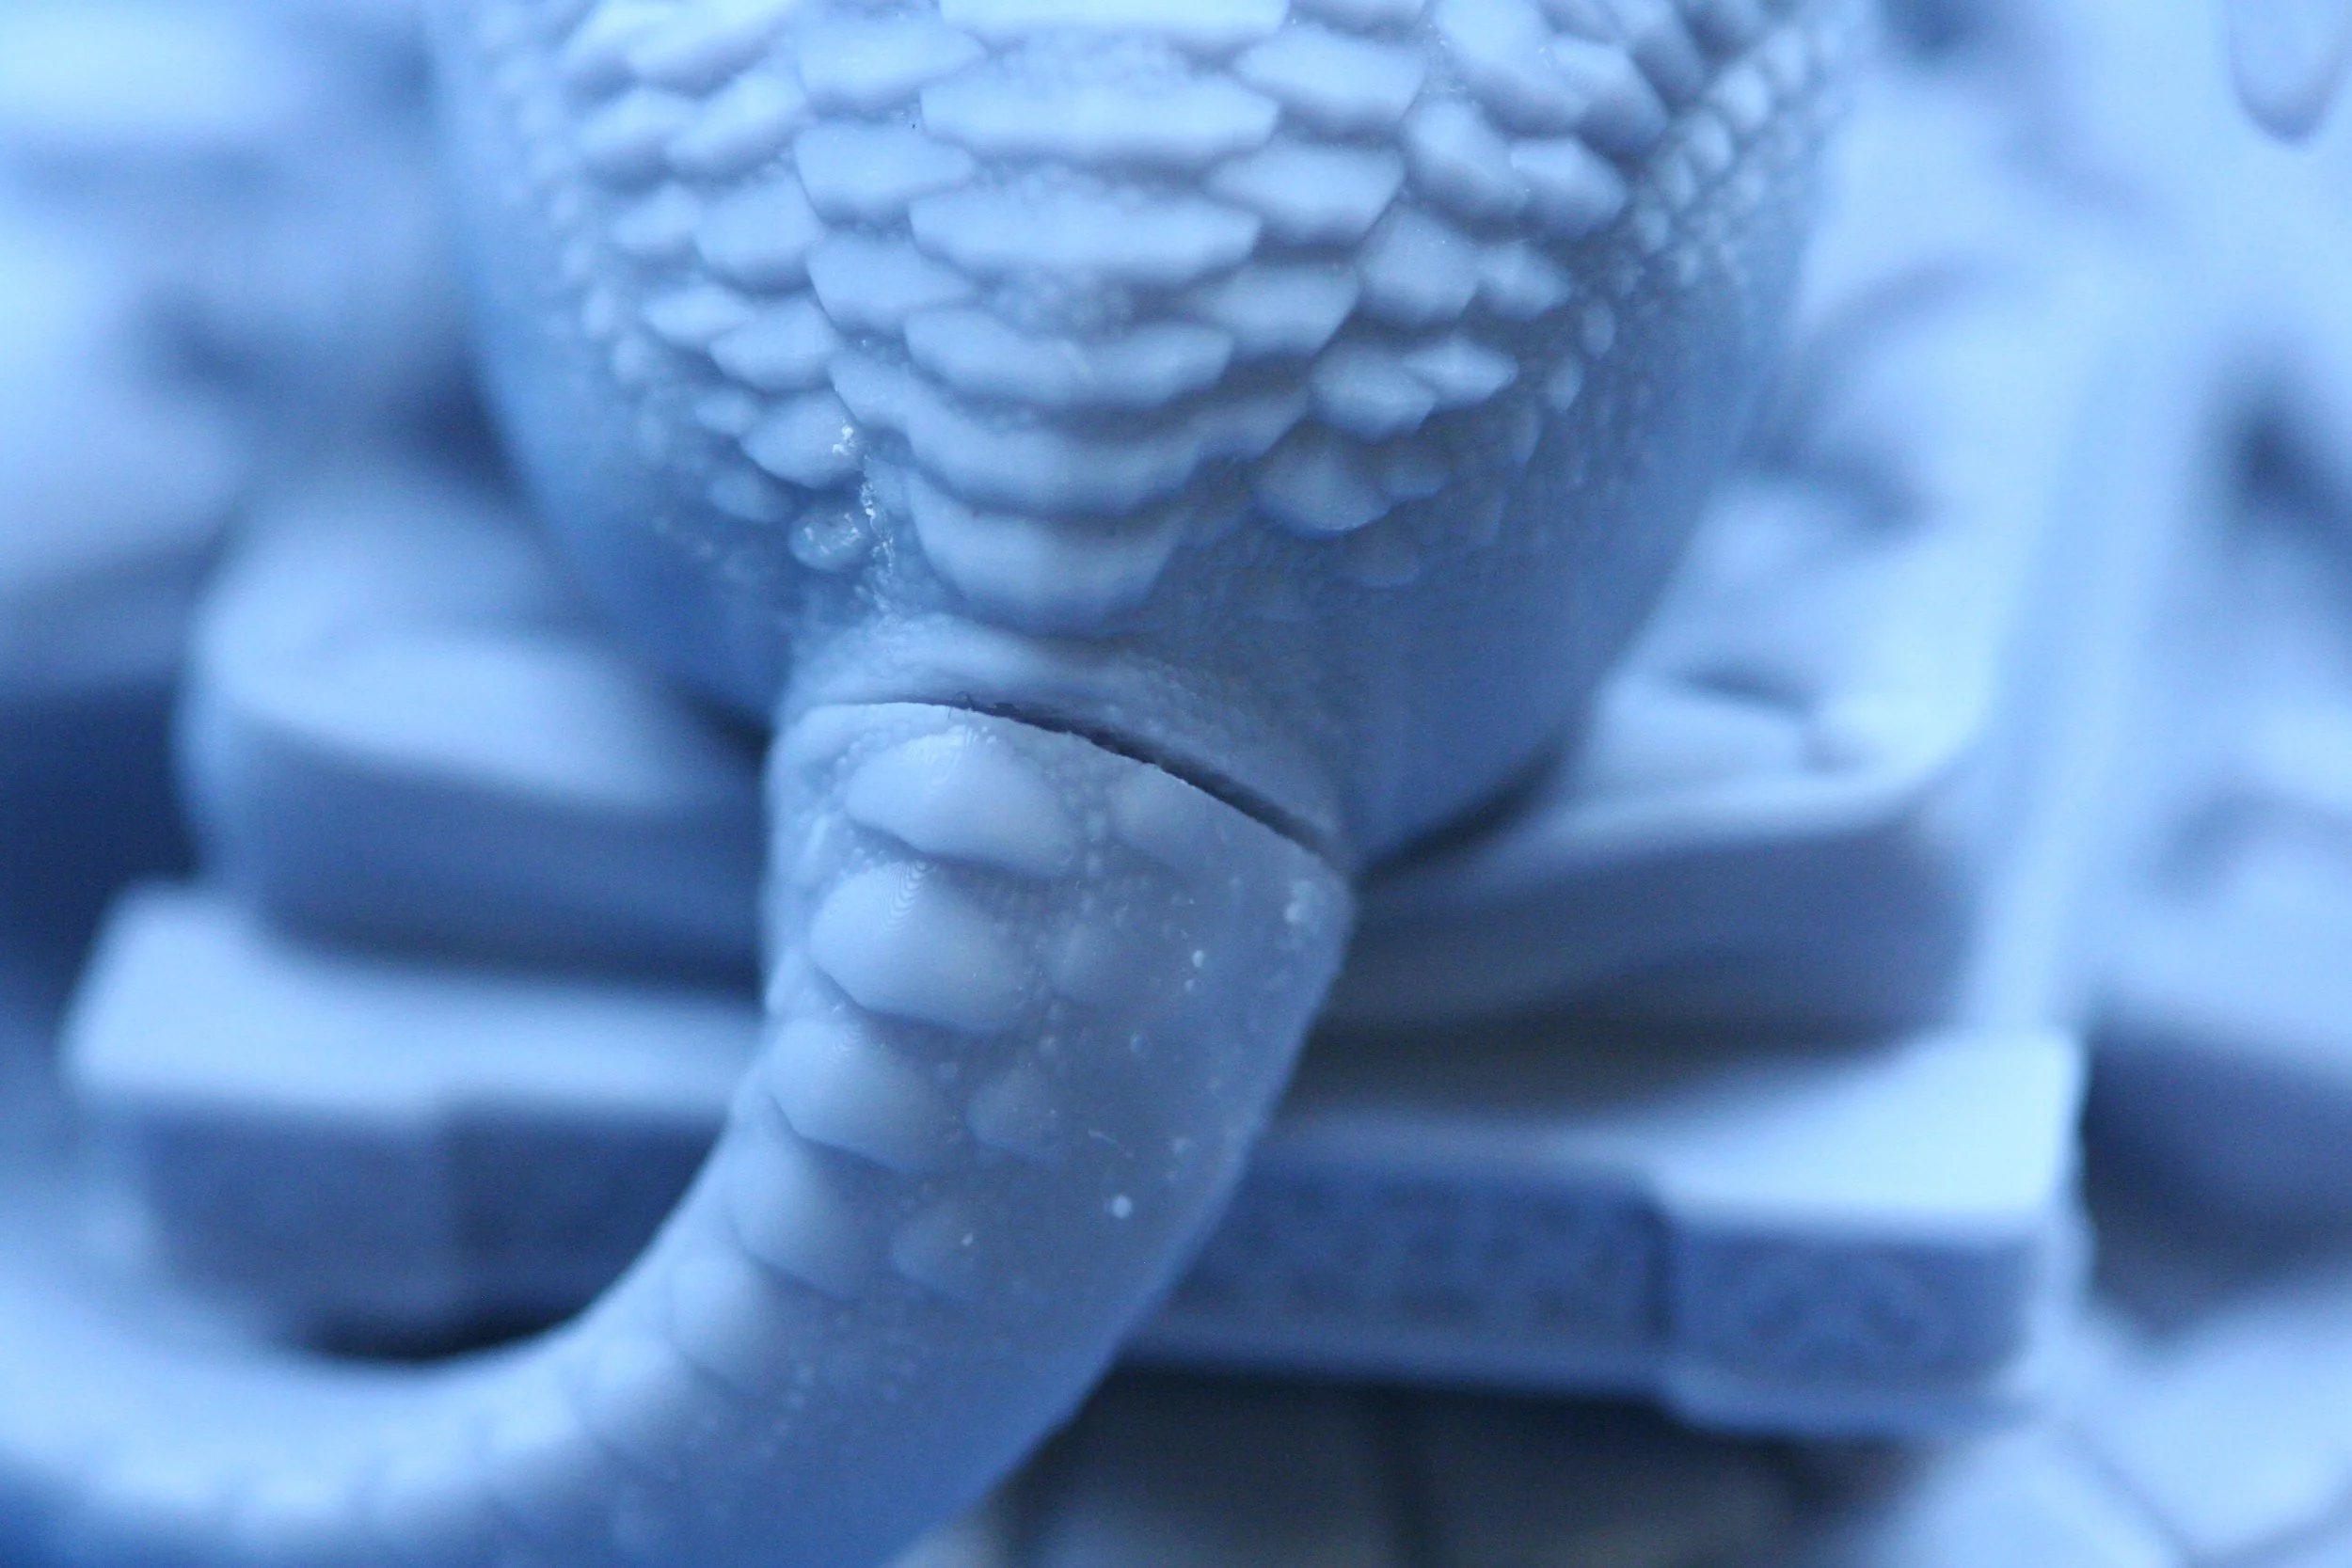
In some cases, tiny fine supports may be left behind. Note the 2 thin supports connecting the baby dragon’s jaw & shoulder.
Step 3: Sand the Miniature
After removing any residual supports, it's a good idea to sand the surface of the miniature. Since the supports physically adhere to the miniature, they can leave behind small ridges or dimples when the supports are removed.
Use fine-grit sandpaper - around 220 grit - and sand the surface. Be careful not to sand too aggressively, as this can damage the surface of the miniature. Also, do not use sandpaper that is too fine because overly smoothing the surface can reduce paint adhesion.
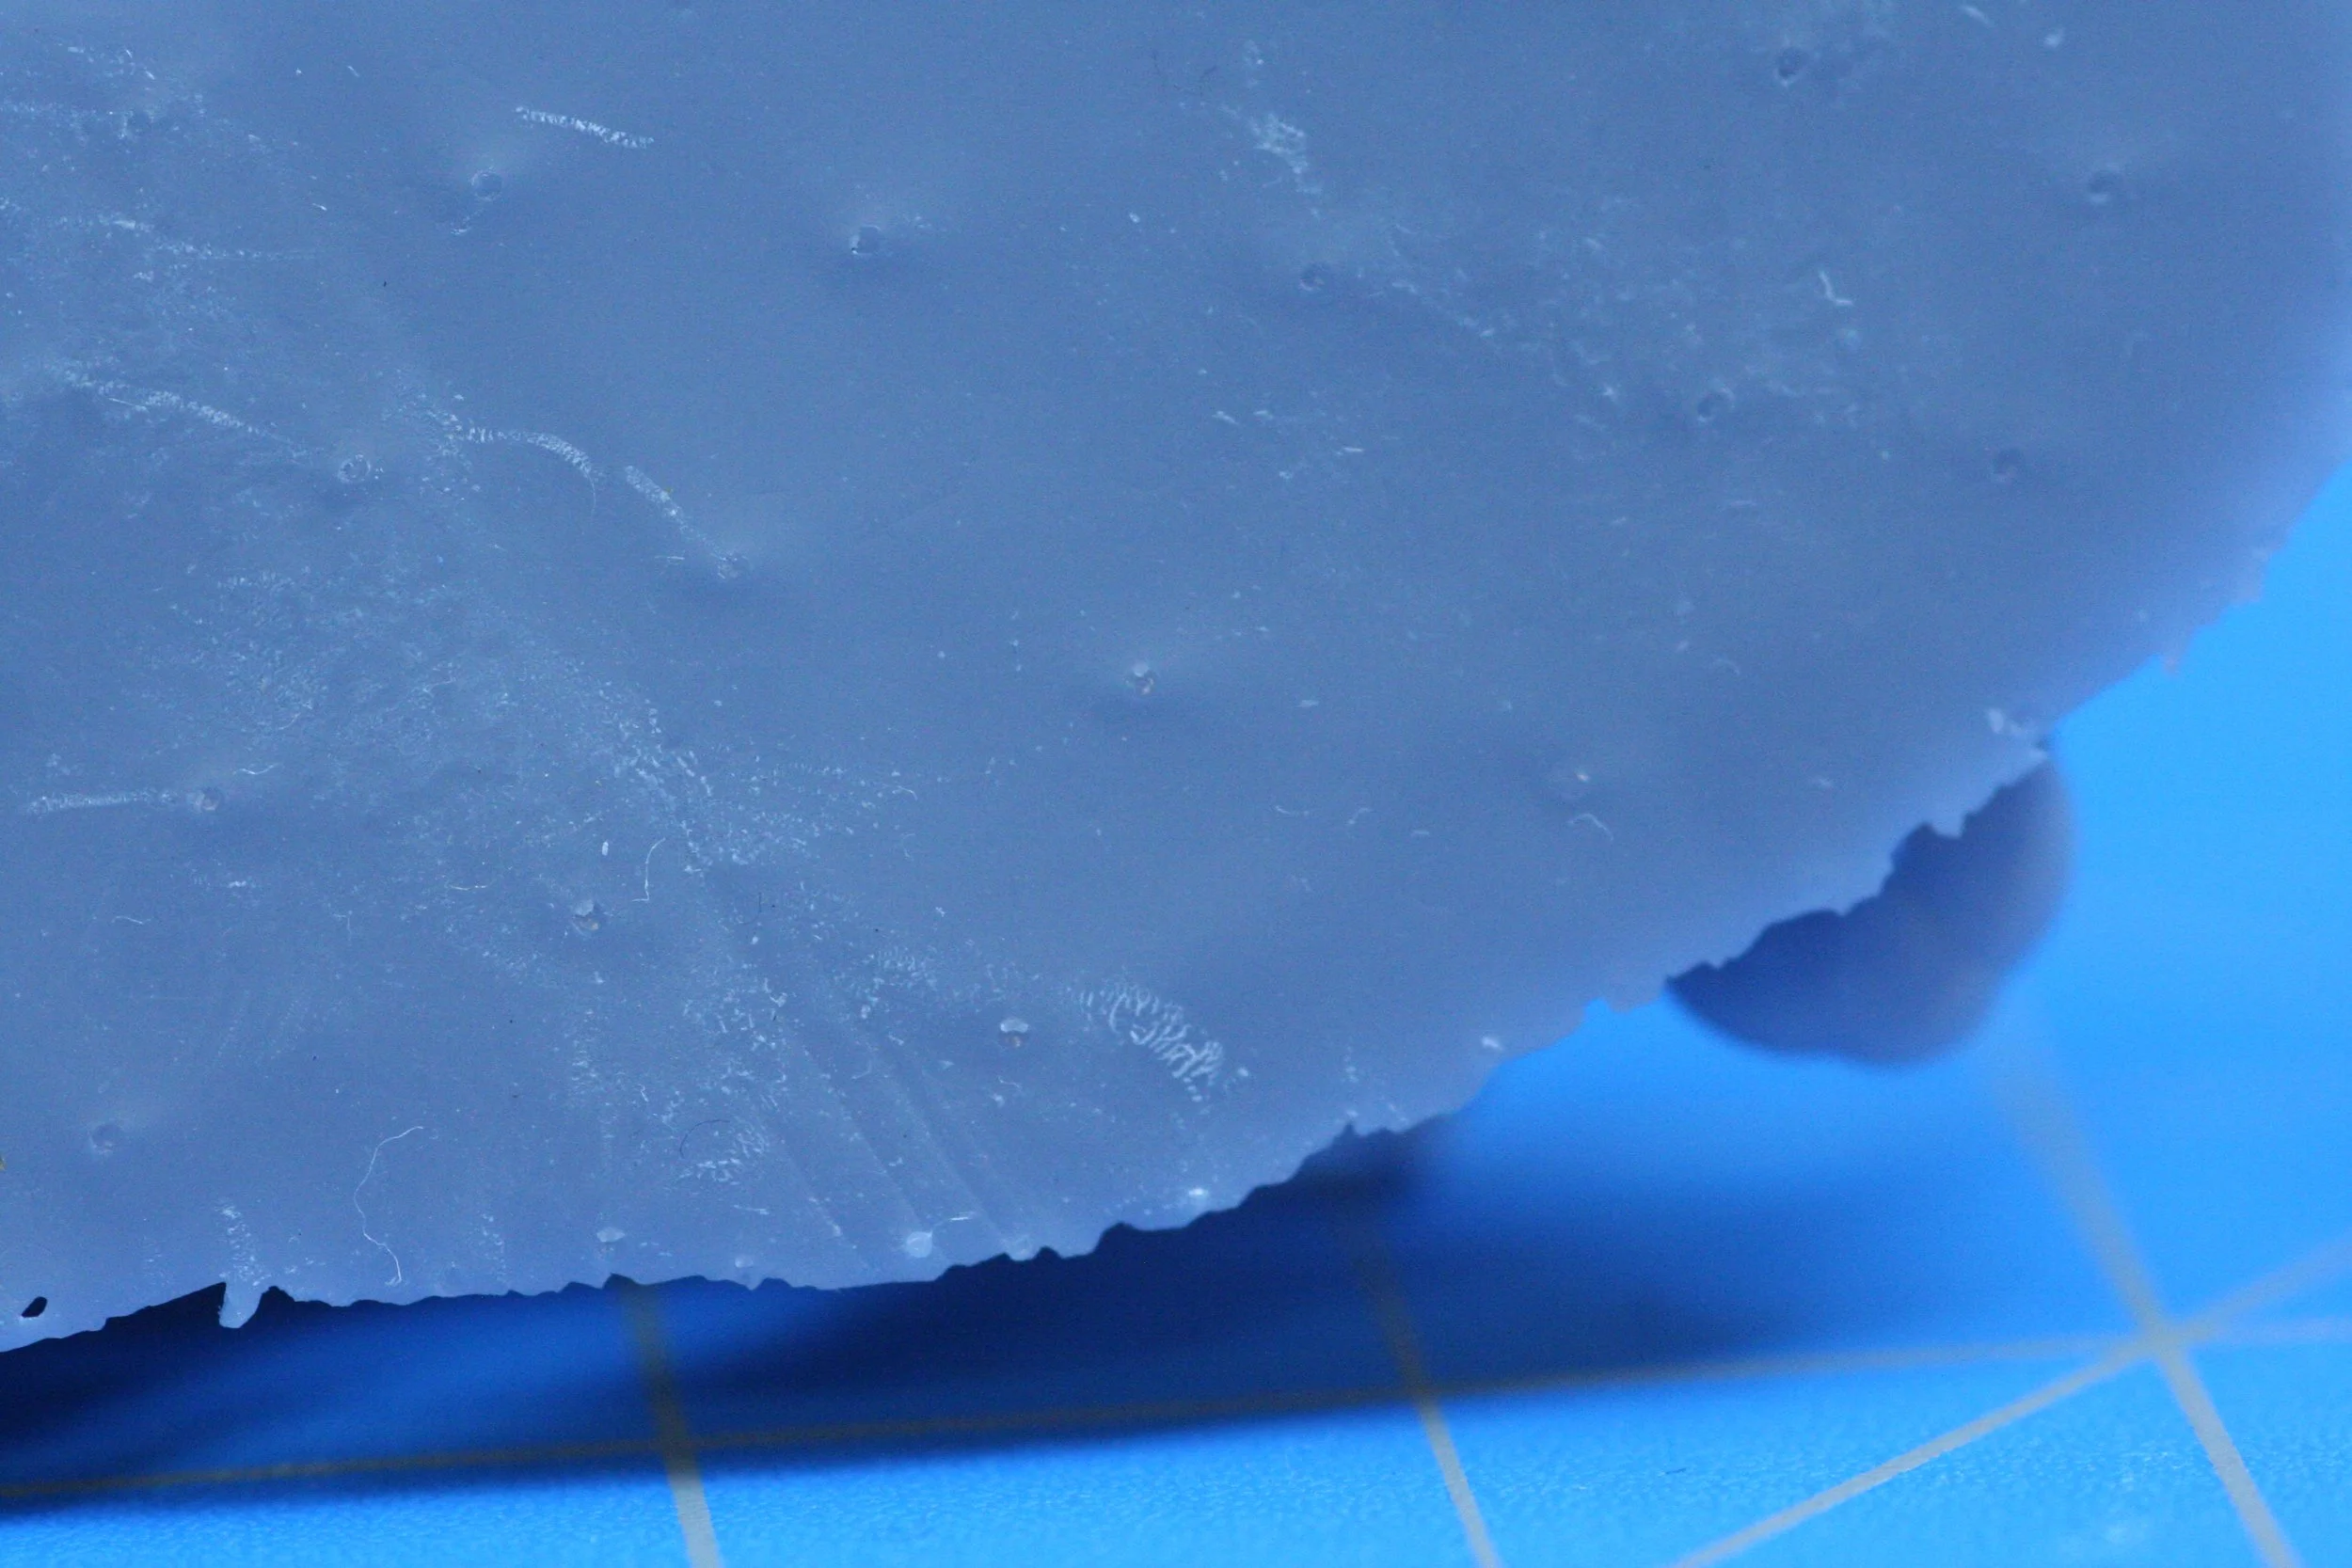
The bottom of a base showing marks left behind by supports. If this were a visible surface, some sanding would remove these marks and leave a smooth, paint-ready surface. Usually, the heaviest support marks will be left on the bottom surfaces of the piece, or on areas that will not generally be visible. This may not always be possible depending on the sculpt.
Step 5: Assemble the Miniature (optional)
Large miniatures or modular miniatures with interchangeable parts will need to be glued together at some point. Before you glue anything, however, be sure to test fit all the pieces so that you know how they fit together. Otherwise you might end up looking at the model the next day and realize that you glue a wing on upside-down.
Also, before gluing anything together, consider how you are going to paint the model. If pieces overlap, they can create areas that are difficult to reach in order to paint. In these cases, it may be easier to leave the model in a couple larger pieces, and then glue them together after painting.
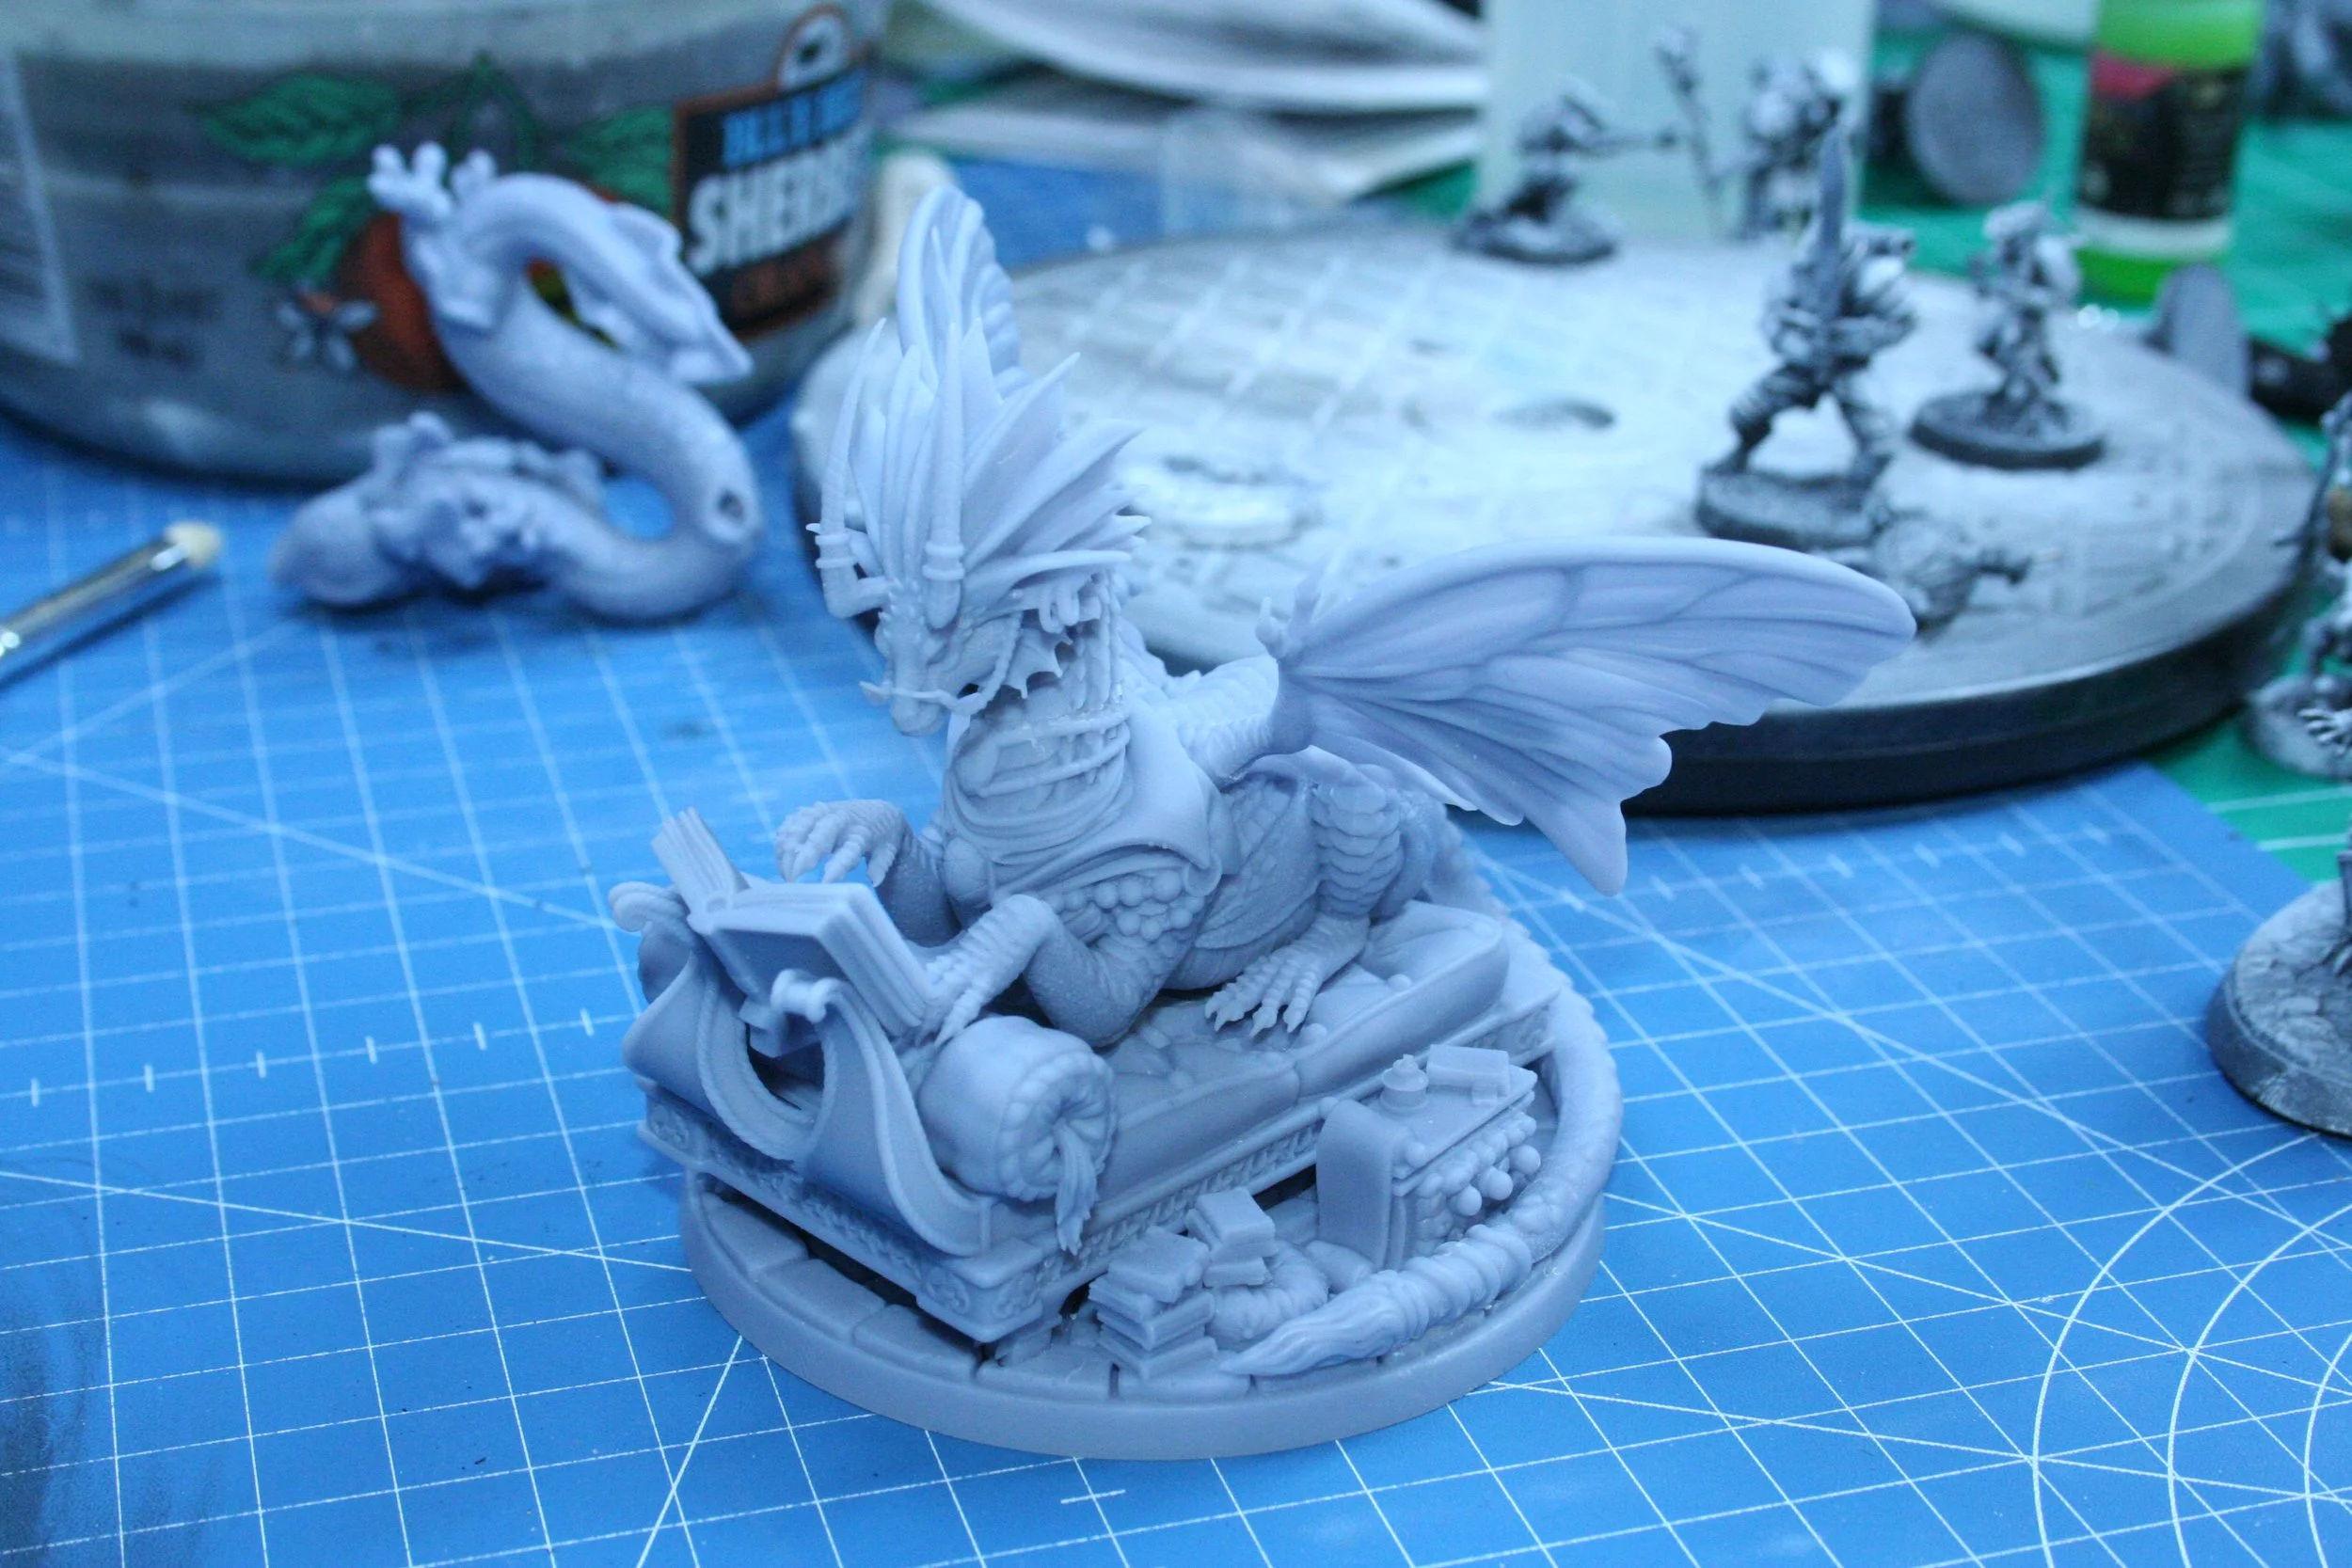
My wife really regrets gluing this one together completely. The dragon gets in the way of painting the couch, and the couch gets in the way of painting the base, It would have been better to leave the 3 pieces separate until after painting.
When gluing 3d-printed models, always use cyanoacrylate glue (superglue). “Plastic Model Cement” works by melting certain types of plastic together, but will not melt resins. “Gorilla” glue expands as it cures and can worsen gaps. Stick with superglue for best results.
Step 6: Fill divots, gaps, and holes
As previously mentioned, supports on 3d-printed models can leave small surface imperfections. Whenever possible, supports are attached to areas where imperfections will not be visible on the final piece or can easily be sanded away. That is not always possible, as in the case of the cape on the Crow Ranger below. In these cases, a sandable filler like Plastic Putty or Milliput can be used to help fill the dimples and then sand away the excess to leave a pristine surface.
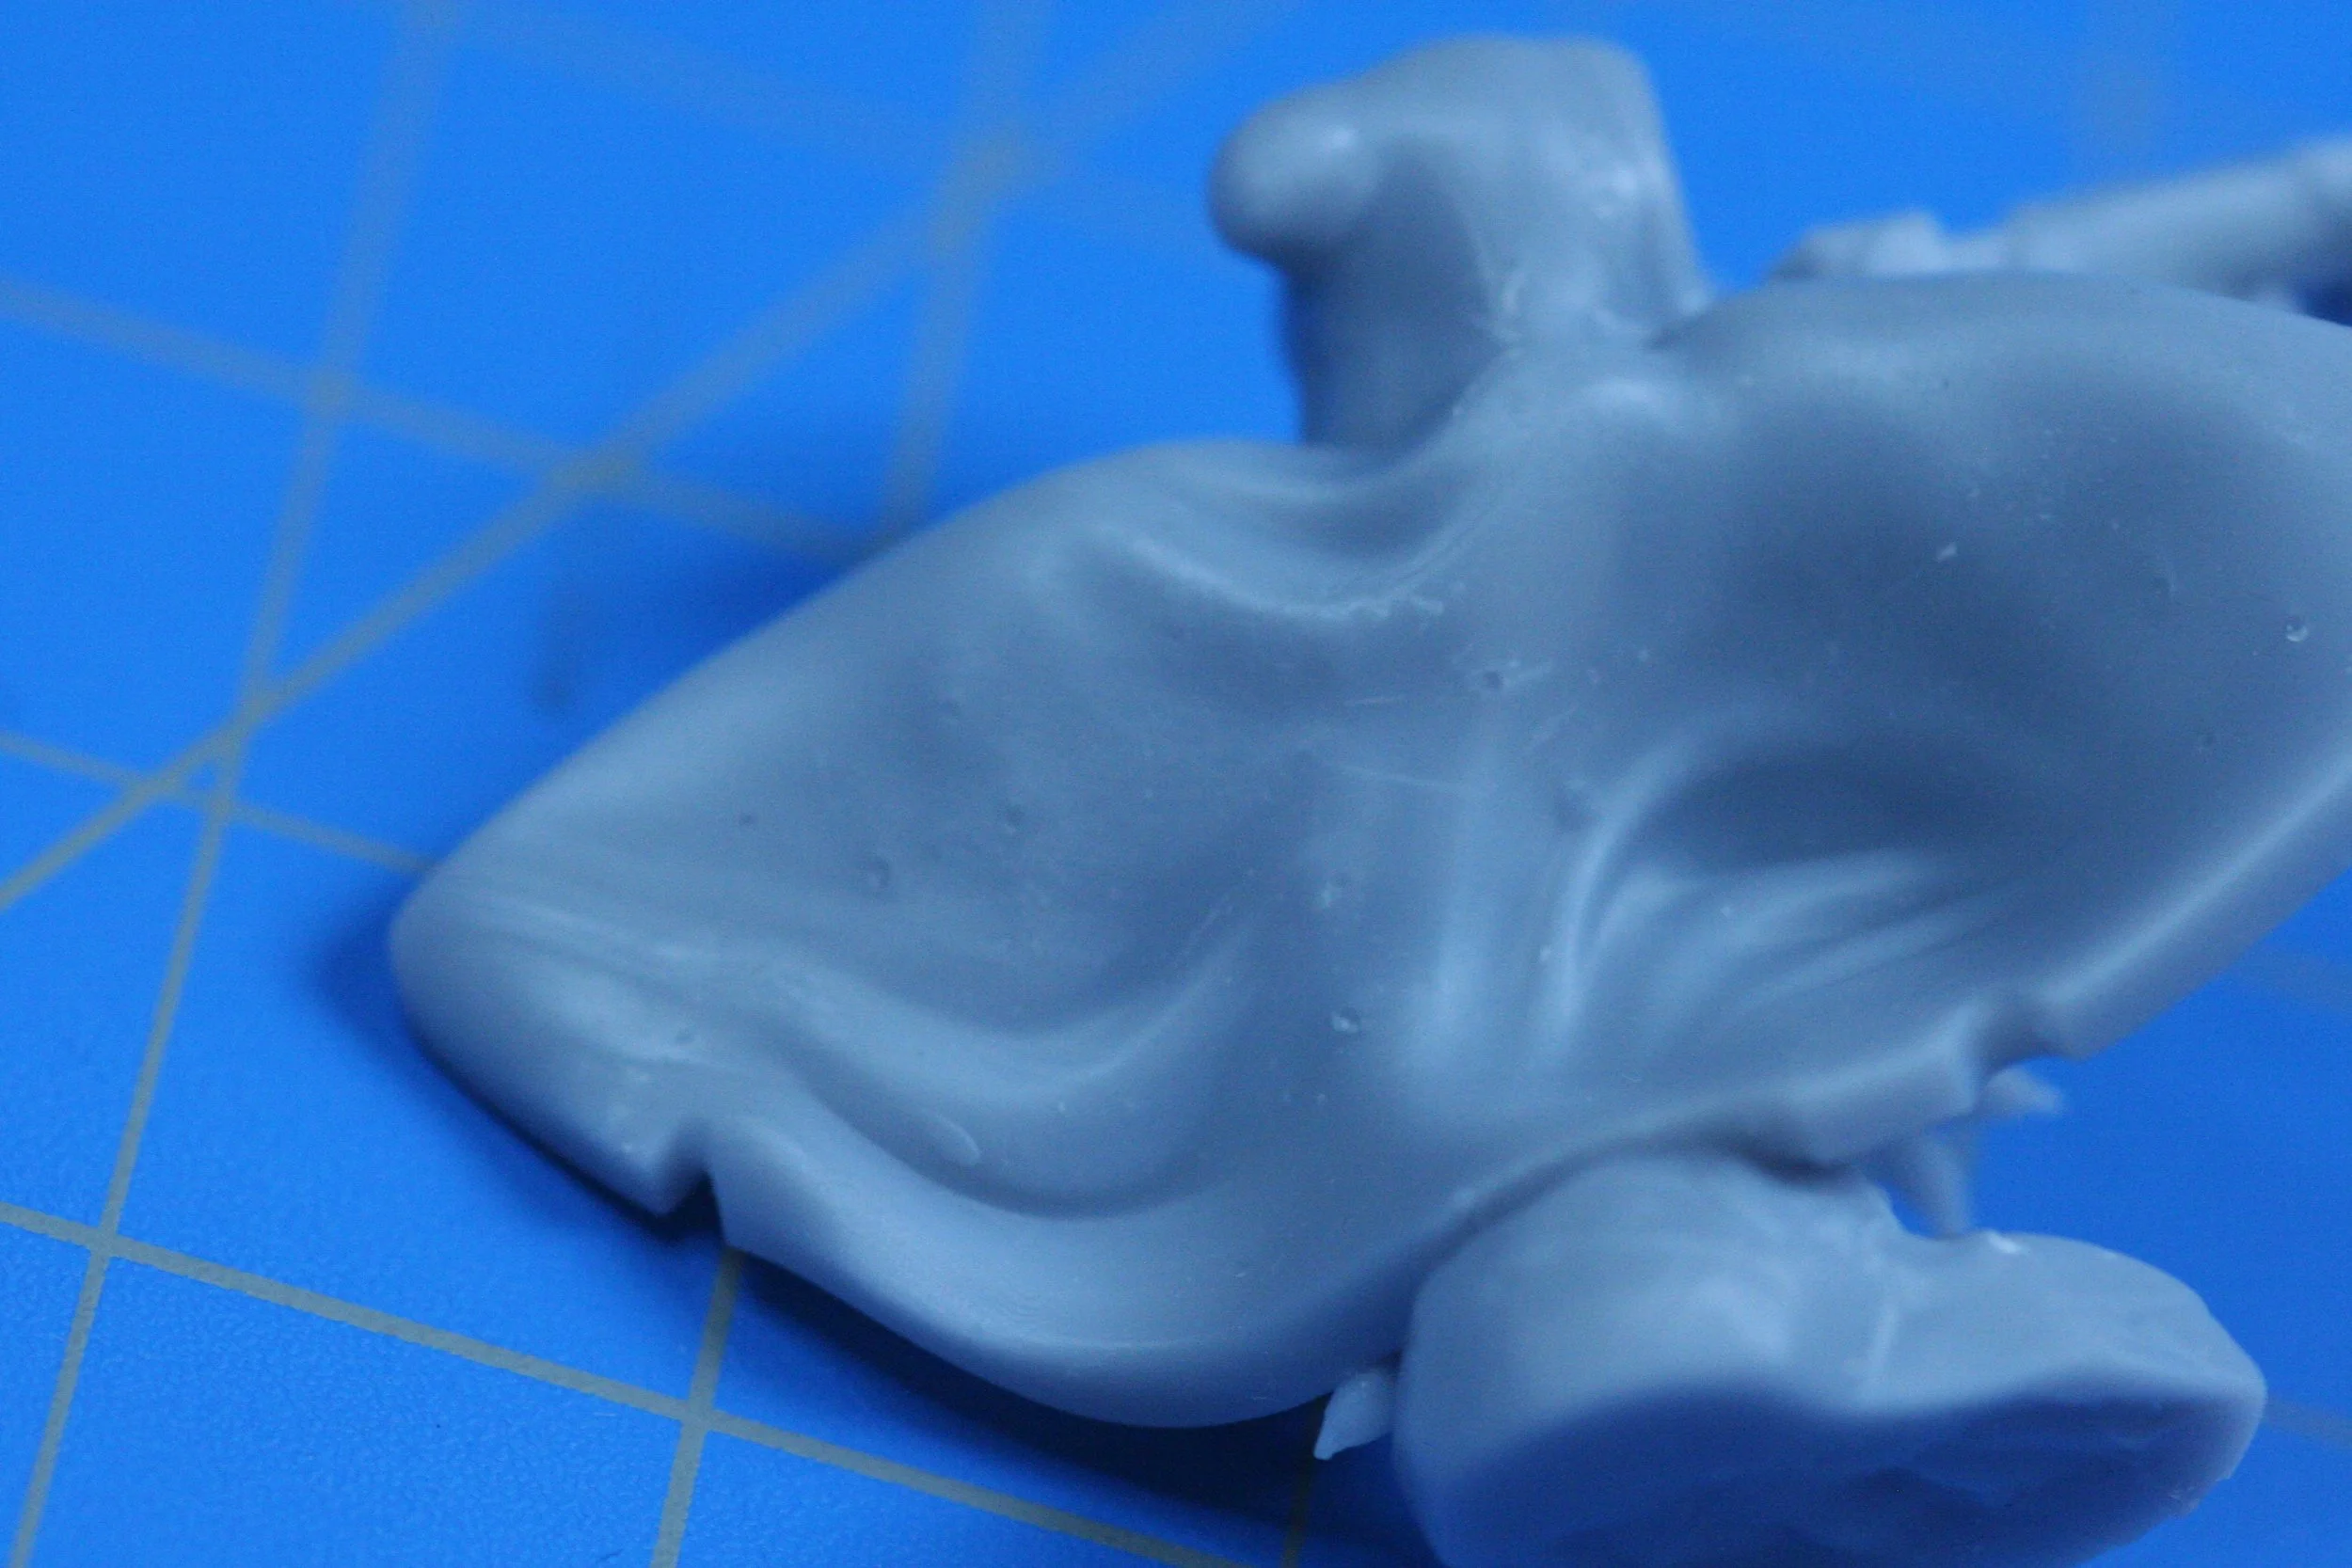
Support dimples left behind on a large smooth surface.
3d printing resin is a liquid that polymerizes into a solid when exposed to ultraviolet light. As part of this chemical reaction, the resin expands slightly. The amount of expansion can vary depending on the brand and type of resin, the intensity of the light source, and can even vary between production lots of the same resin. Because of this, multipart miniatures may not fit together exactly and perfectly flush. In these cases, a gap filler such as green stuff or Milliput can be used to fill in these gaps.
Small gaps between parts may require filling before painting.
Larger models may be printed hollow in order to reduce resin use and costs. However, this means that the model will need to have holes in it to allow the residual liquid resin to be drained out, cleaned, and the internal cavity to be cured. Whenever possible, these drainage holes are placed on parts of the model that are not visible on the finished piece. In other cases, Green Stuff, Milliput, or a similar gap filler may be used to fill in the holes.
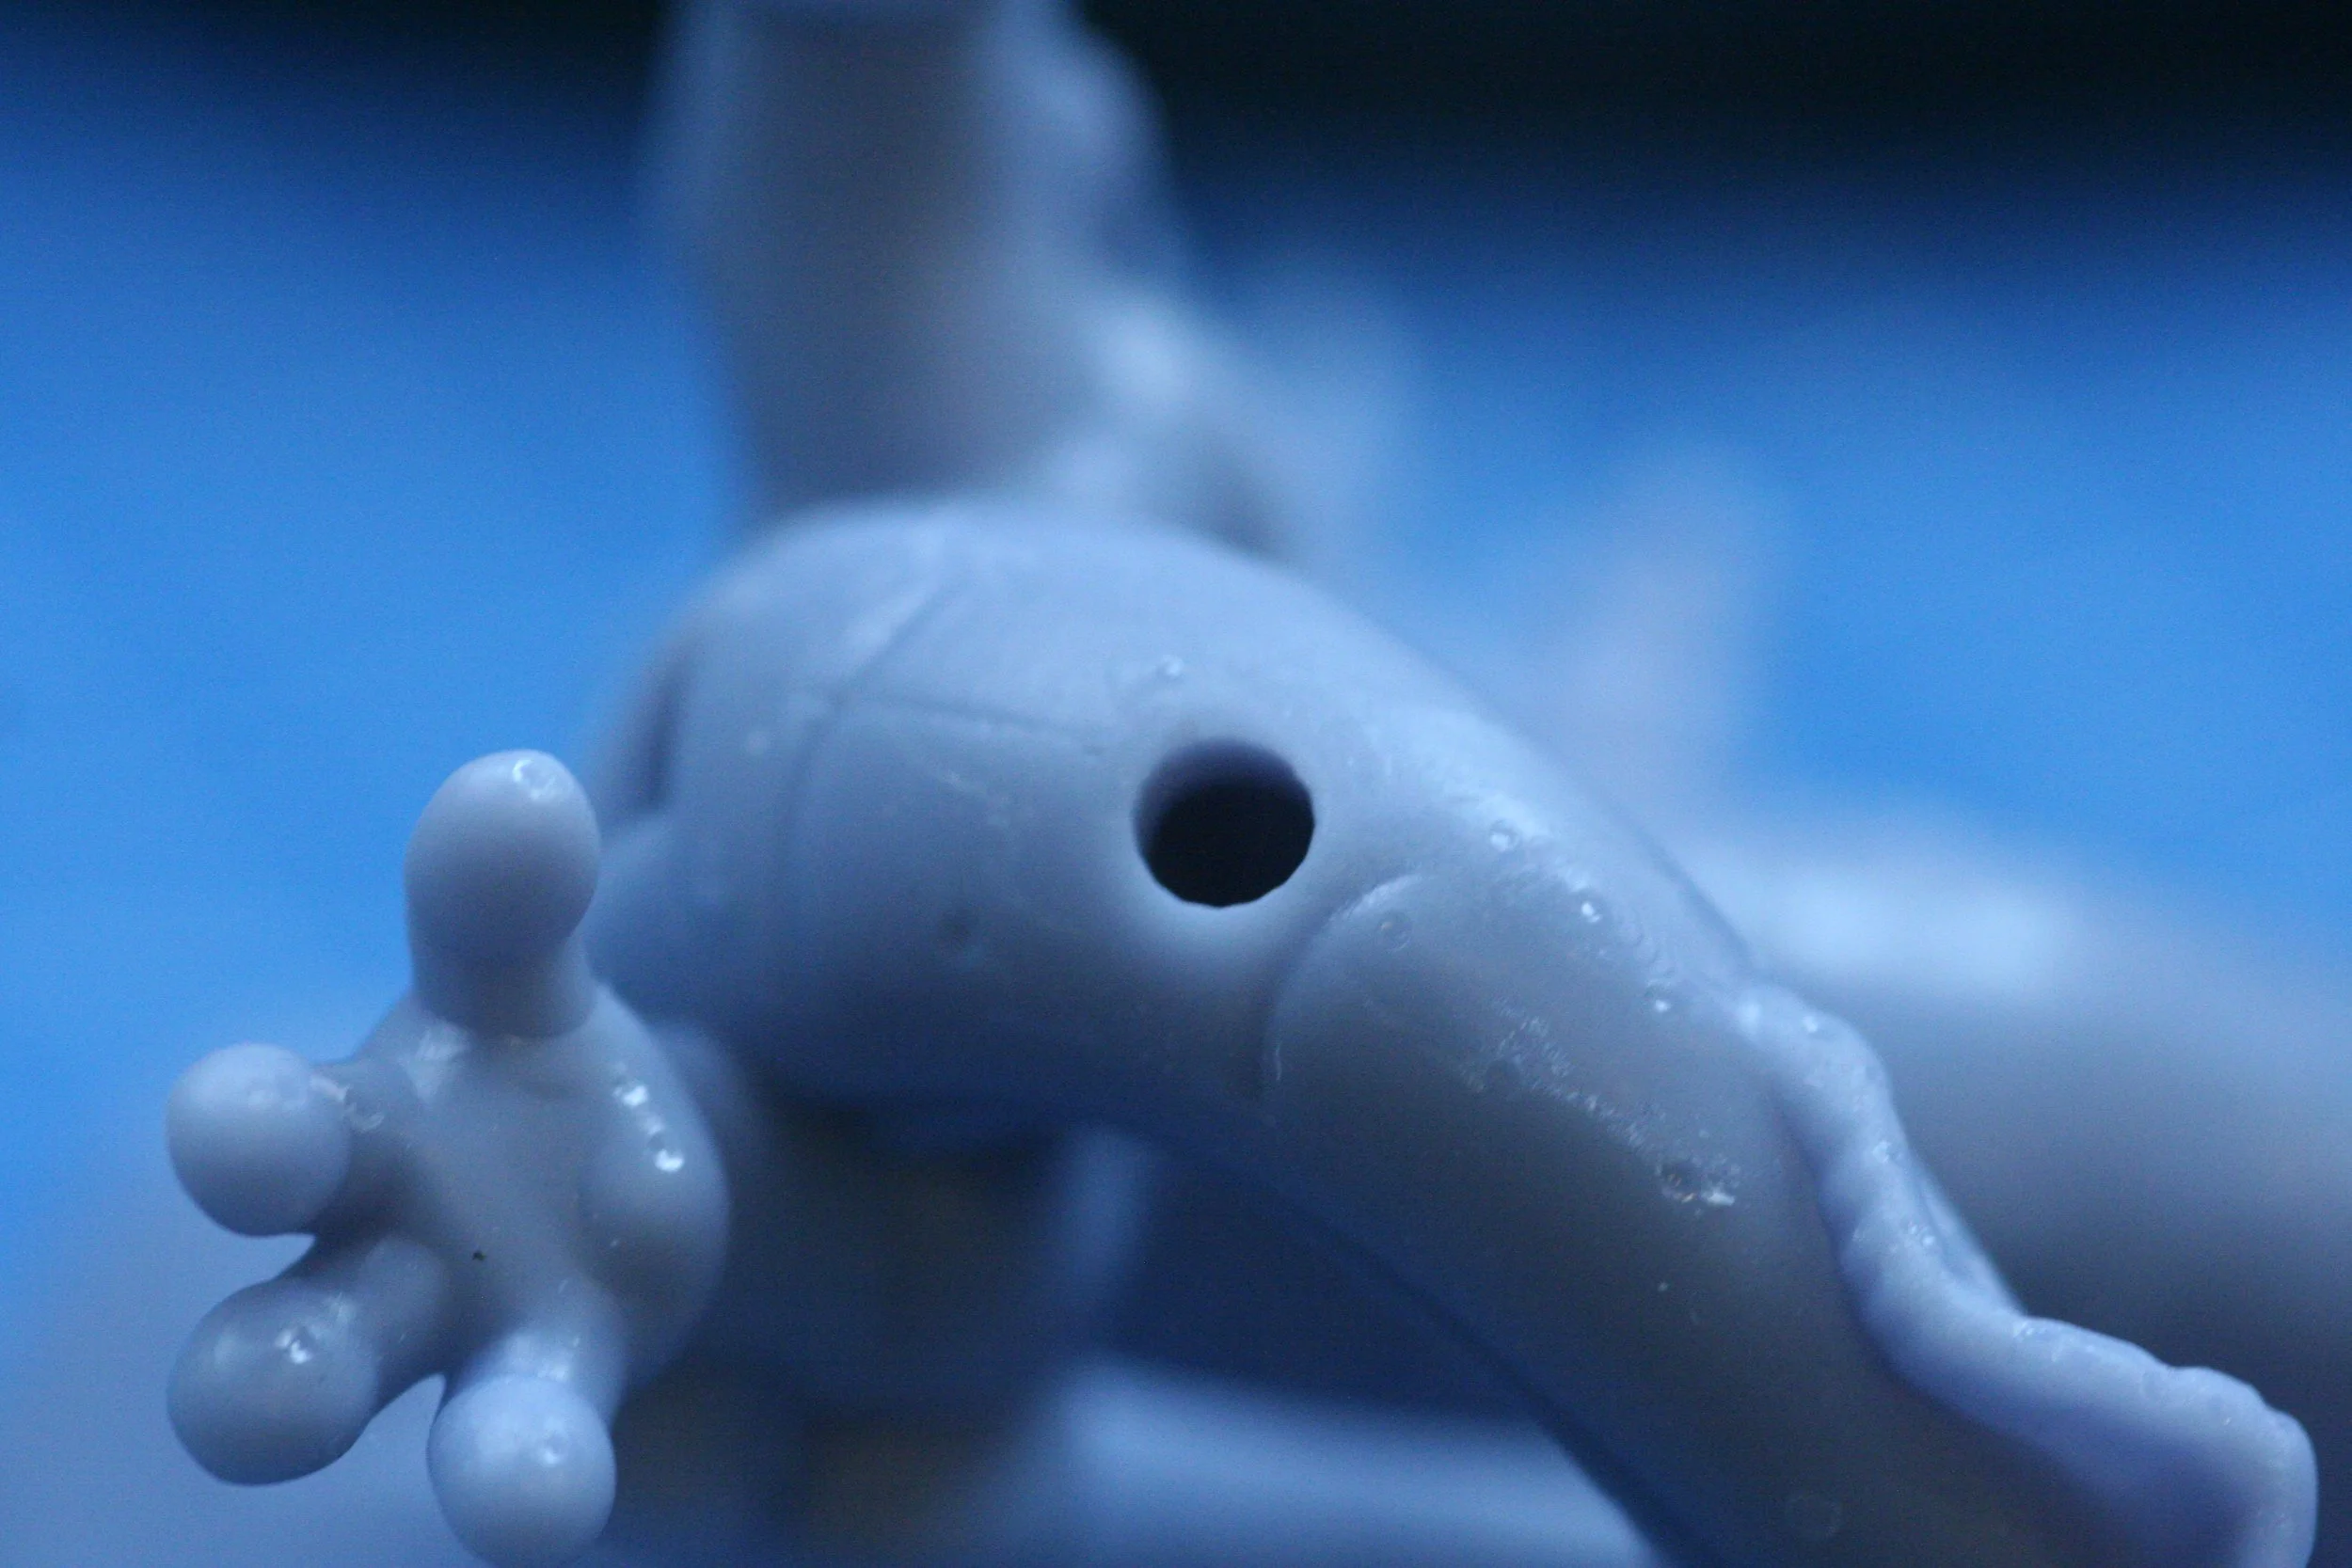
Drainage holes will need to be filled if they are going to be visible after assembly. Multipart miniatures will usually have the drainage holes on an area that is not visible after assembly, but this is not always possible.
Step 7: Wash the Miniature
Once the miniature has been fully prepared, it's important to wash it thoroughly to remove any remaining debris or oils that may be present on the surface. Fill a bowl with warm water and add a few drops of dish soap. Gently wash the miniature with a soft-bristled brush, making sure to get into all the crevices and hard-to-reach areas. Rinse the miniature under running water and then pat it dry with a soft cloth or paper towel. Allow the pieces to air dry completely before proceeding to painting.
Step 8: Prime the Miniature
Before you start painting, it's a good idea to prime the miniature to ensure that the paint adheres properly and looks its best. I personally prefer using a primer designed for miniatures, but you can get great results even with a coat of spray primer from a local hardware store. Apply an even coat to the surface of the miniature. Be sure to follow the manufacturer's instructions for the best results.
Primer can be applied via spray can, airbrush, or brush with excellent results. Paintman Journeying on youtube has an excellent video on priming minis to get excellent painting results.